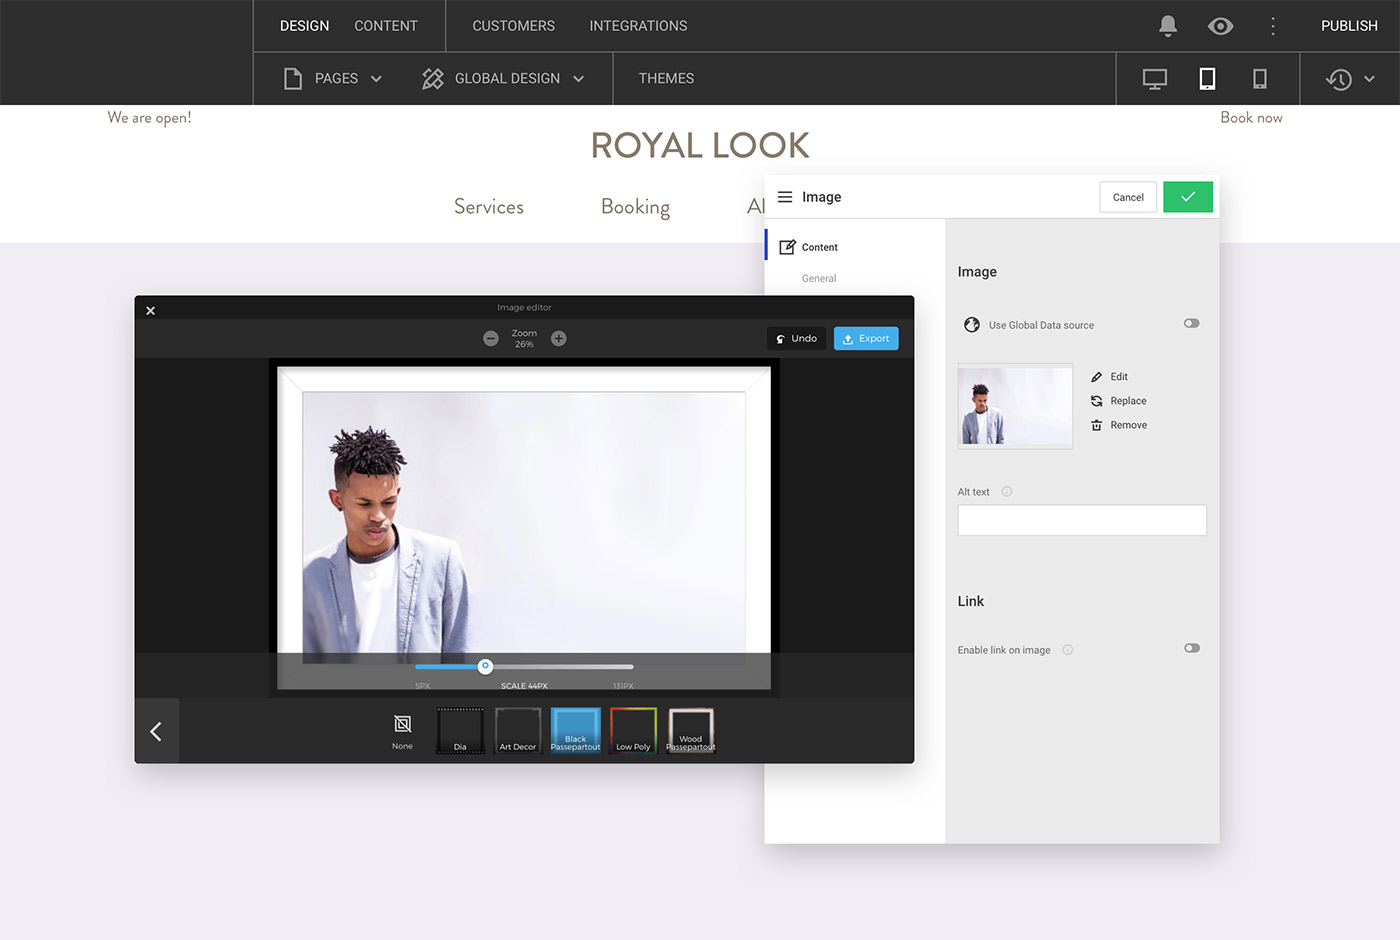
Use the Image Editor to adjust images directly in the Editor instead of going through third-party applications. The Image Editor gives you the options to add a filter, add a focus, adjust colors, add a text, add a frame and transform/resize the image.
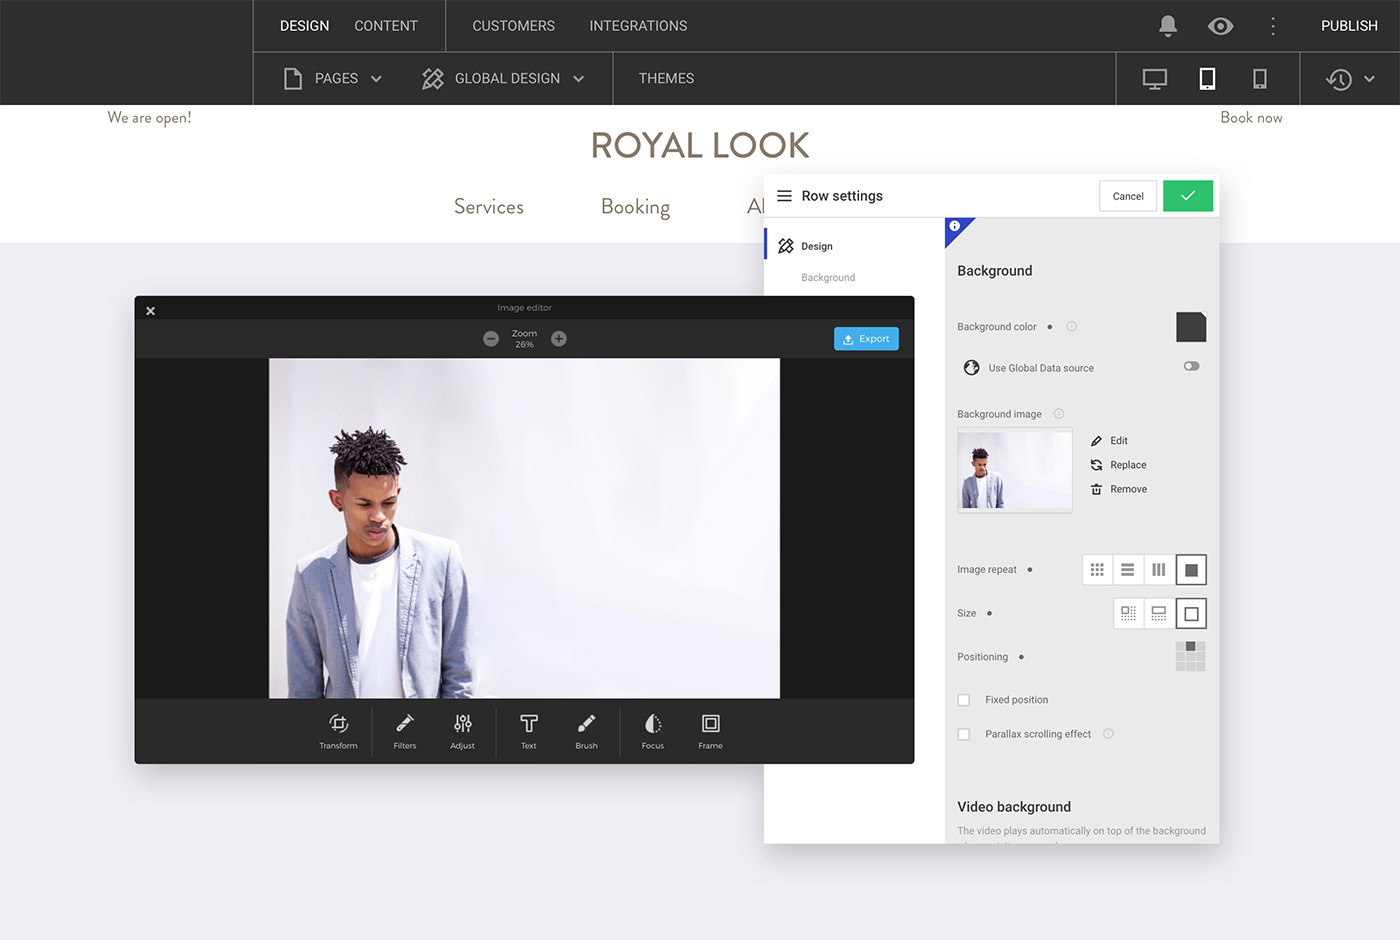
Changes to the original image
When making changes to one of your images in the Image Editor it won't change the original image. The Editor creates a new version of your image with the new changes once you click Export in the Image Editor. Both versions of your image are stored in the file manager.
Basic features to know
You find three important basic features in the top of the Image Editor overlay. The first helpful feature is the zoom in and out options placed at the middle of the top bar.
When you've started editing your image, you'll also see an undo option in the top right which will help you revert any changes made to your image.
Once you're done editing your image, remember to click Export button to save the image.

How to open the Image Editor
You open the Image Editor by navigating to your relevant image either in the File Manager, in a module, or on a background of an element (for example a row or a column). When locating the image you want to edit, click on Edit next to the thumbnail of the image and the Image Editor will launch in a separate overlay.
You can open and edit an image from the following elements in the Editor:
- Image module
- Image list module
- Gallery module
- Row background
- Column background
- File Manager
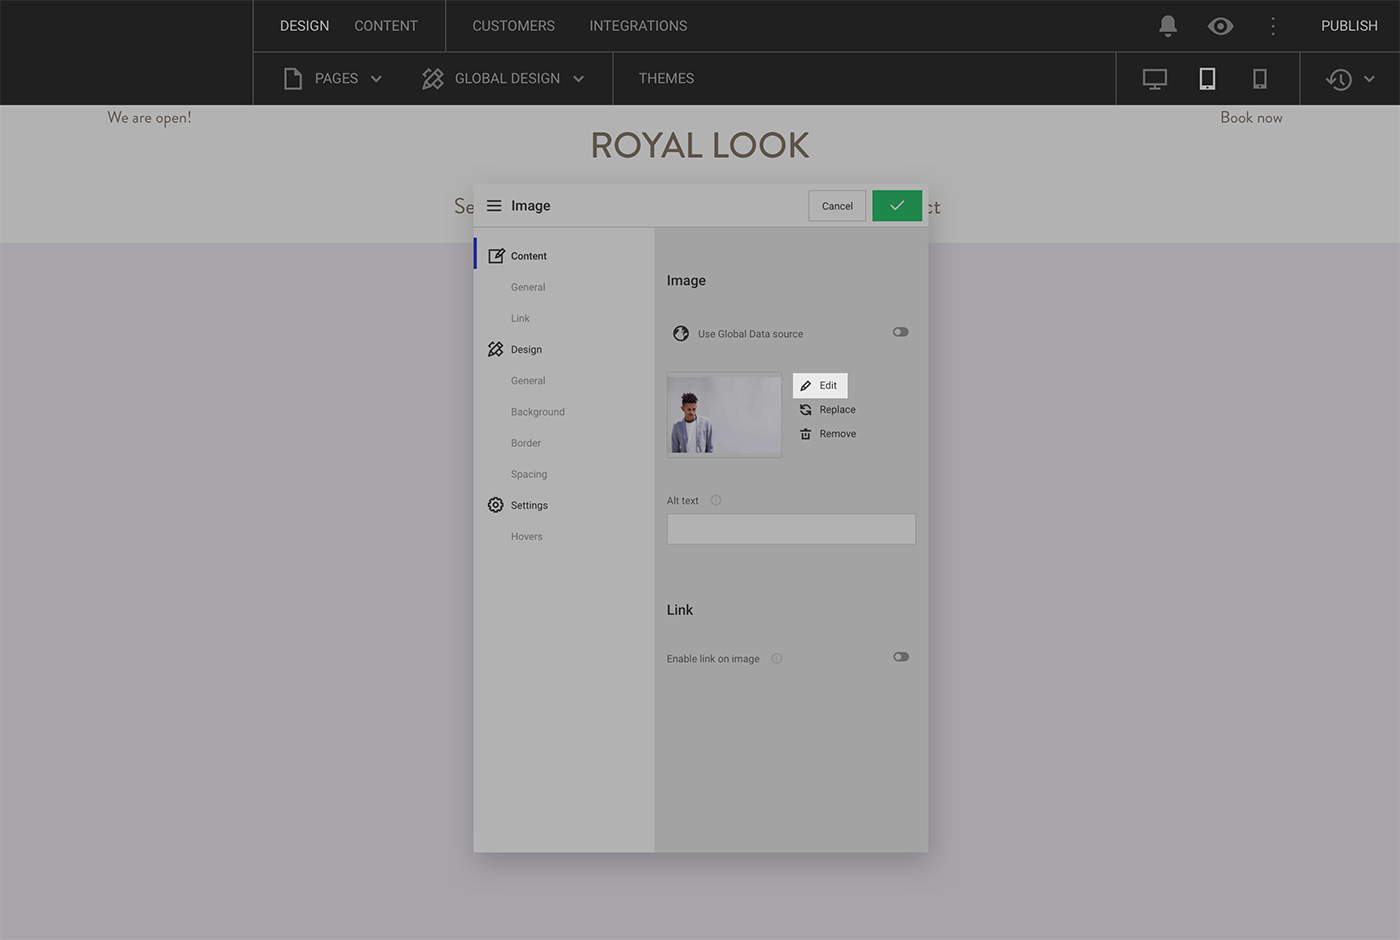
Transform
The transform section of the Image Editor is where you resize, mirror and rotate your image.
Mirror and rotate your image
Use the mirroring and rotate options to make the image suit your specific needs for your website. You find the mirroring and rotate options in the top of the overlay once you click Transform:
- Mirror horizontal
- Mirror vertical
- Rotate left
- Rotate right
Click on one of the options to change your image accordingly.
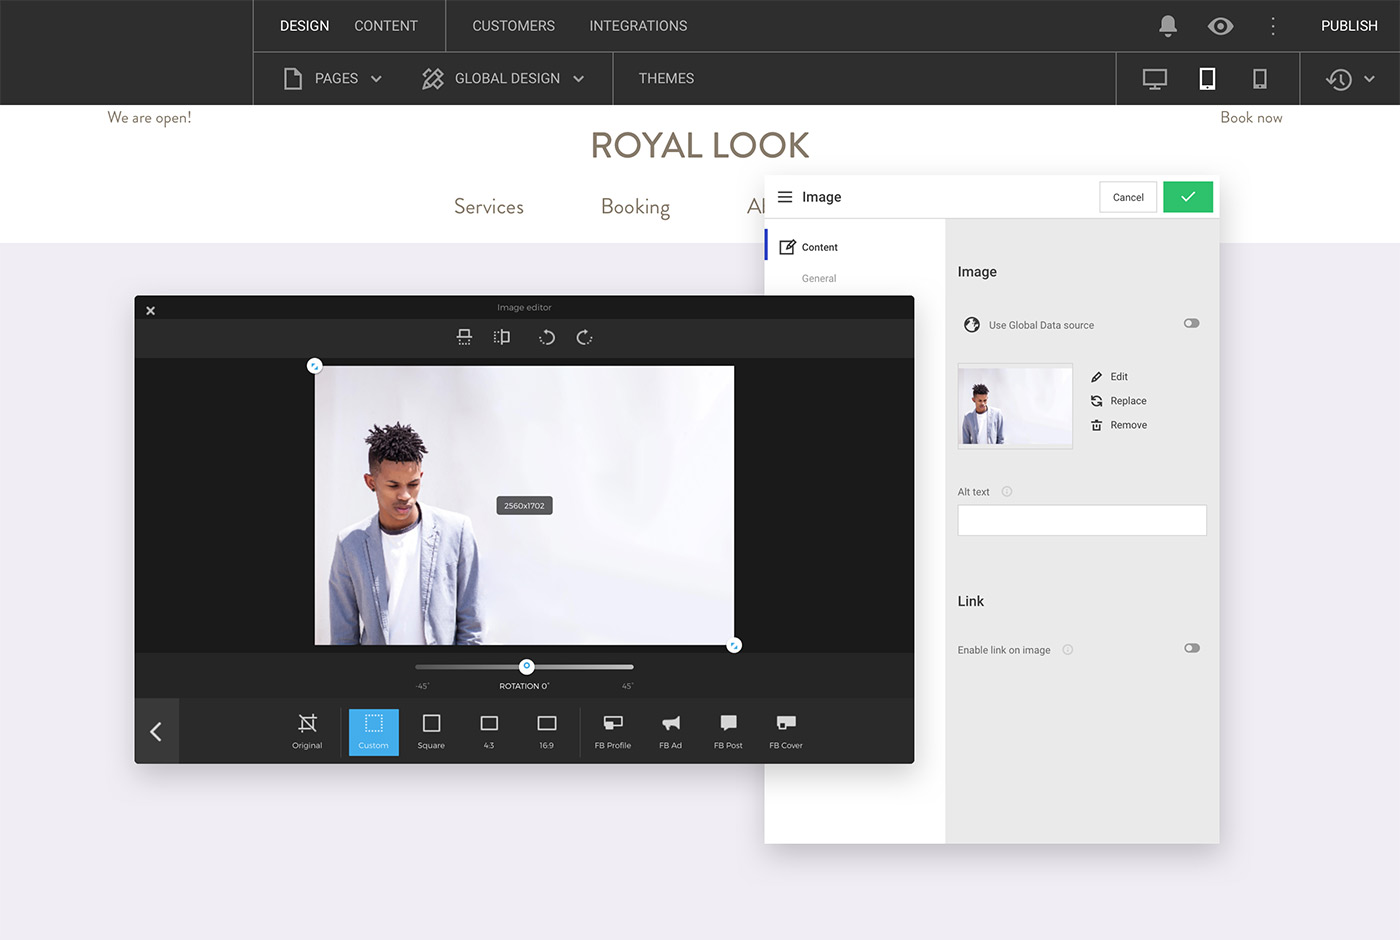
Resize your image
You can either choose to manually resize/crop your image by using the option Custom or use one of the seven predefined crops. You find the resizing options in the bottom of the transform overlay:
- Square
- 4:3
- 16:9
- FB Profile
- FB Ad
- FB Post
- FB Cover
FB resizing options
FB stands for Facebook. All the FB resizing options follow specific dimensions used on images for different Facebook purposes. Profile resizes the image to match a profile picture, Ad resizes to match an Ad image, Post resizes to match images used in posts, and Cover resizes to match cover photos.
Filters
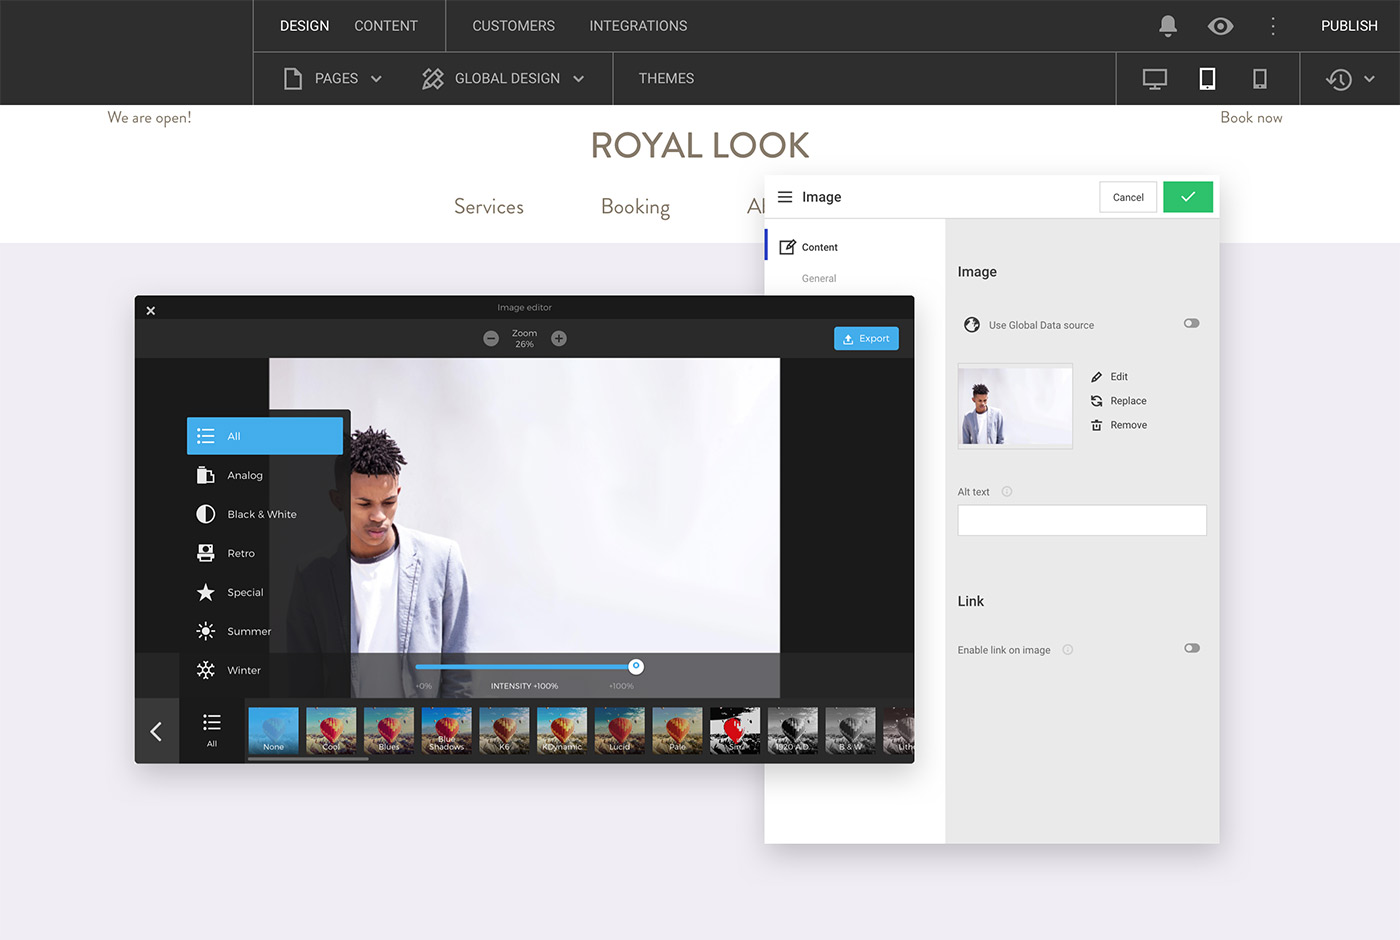
The filter section of the Image Editor is where you add a filter to your entire image. You have six different preset filter categories to choose from and each category consist of multiple filter options:
- Analog
- Black & White
- Retro
- Special
- Summer
- Winter
Click on one of the options to add the filter on your image. Once you've added your filter, you have the option to change the intensity of your filter from 0-100%. Remember to click Export to save the filter.
Adjust
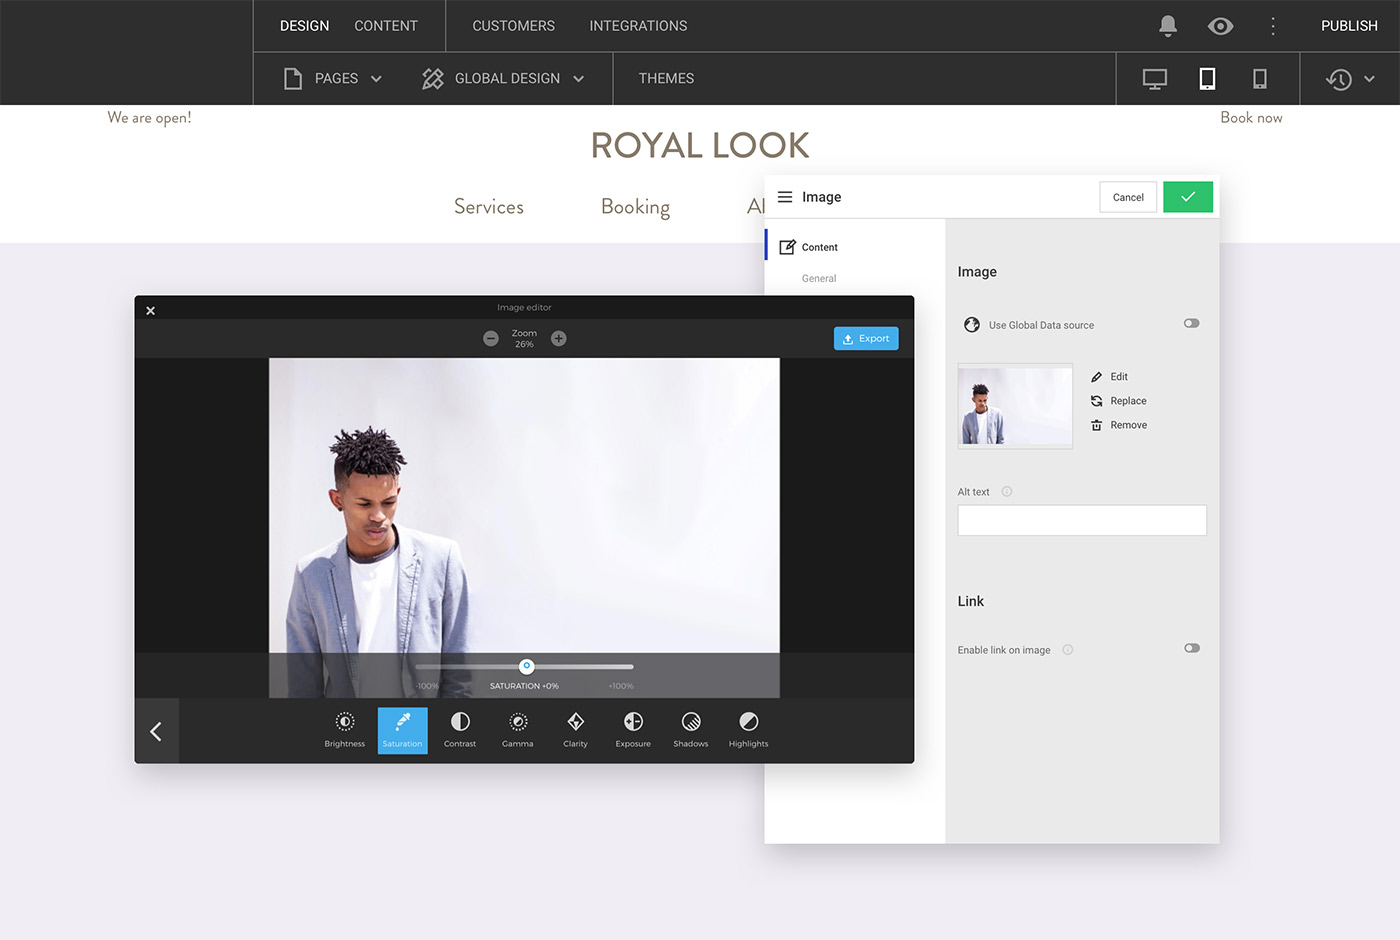
The adjust section of the Image Editor is where you adjust your image based on specific parameters. You have eight different adjustment options to choose from and you can set the intensity of each parameter from -100% to +100%:
- Brightness: give your image more brightness or make it darker
- Saturation: intensify the colors of your image or scale them down
- Contrast: add a bigger contrast between elements or make the contrasts softer
- Gamma: intensify or scale down dark regions of your image
- Clarity: give your image more clarity and sharpness or scale it down
- Exposure: brighten darker areas of your image or make them more intense
- Shadows: intensify or soften shadows
- Highlights: scale your image highlights up or down
Text
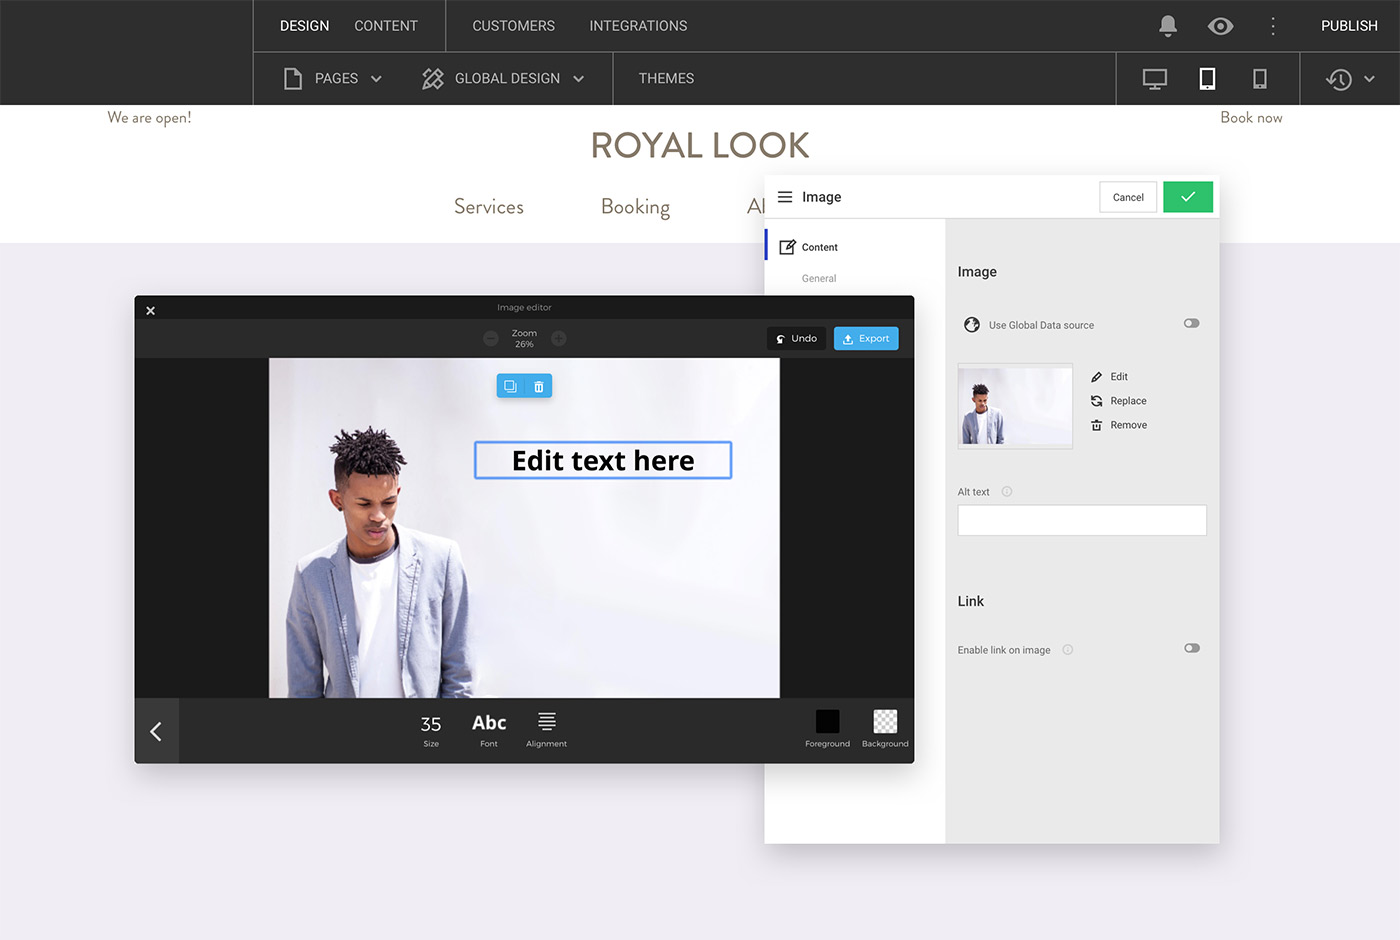
The text section of the Image Editor is where you add a text on top of your image in a specific color and size. A text area is added right away when you click on Text. Edit the text by double clicking on the new text area on your image. Change the position of the text on the image by clicking on the text and dragging it to the desired position. Expand and narrow down the text area by clicking the small icon in the top right corner of the text area and rotate your text by using the icon in the bottom right corner.
Delete your text by clicking on it and selecting the trash icon showing above the text.
Text styling
You have the options to change size, font, alignment and colors (text and background color) of your text. You find these options in the bottom of the text overlay.
Brush
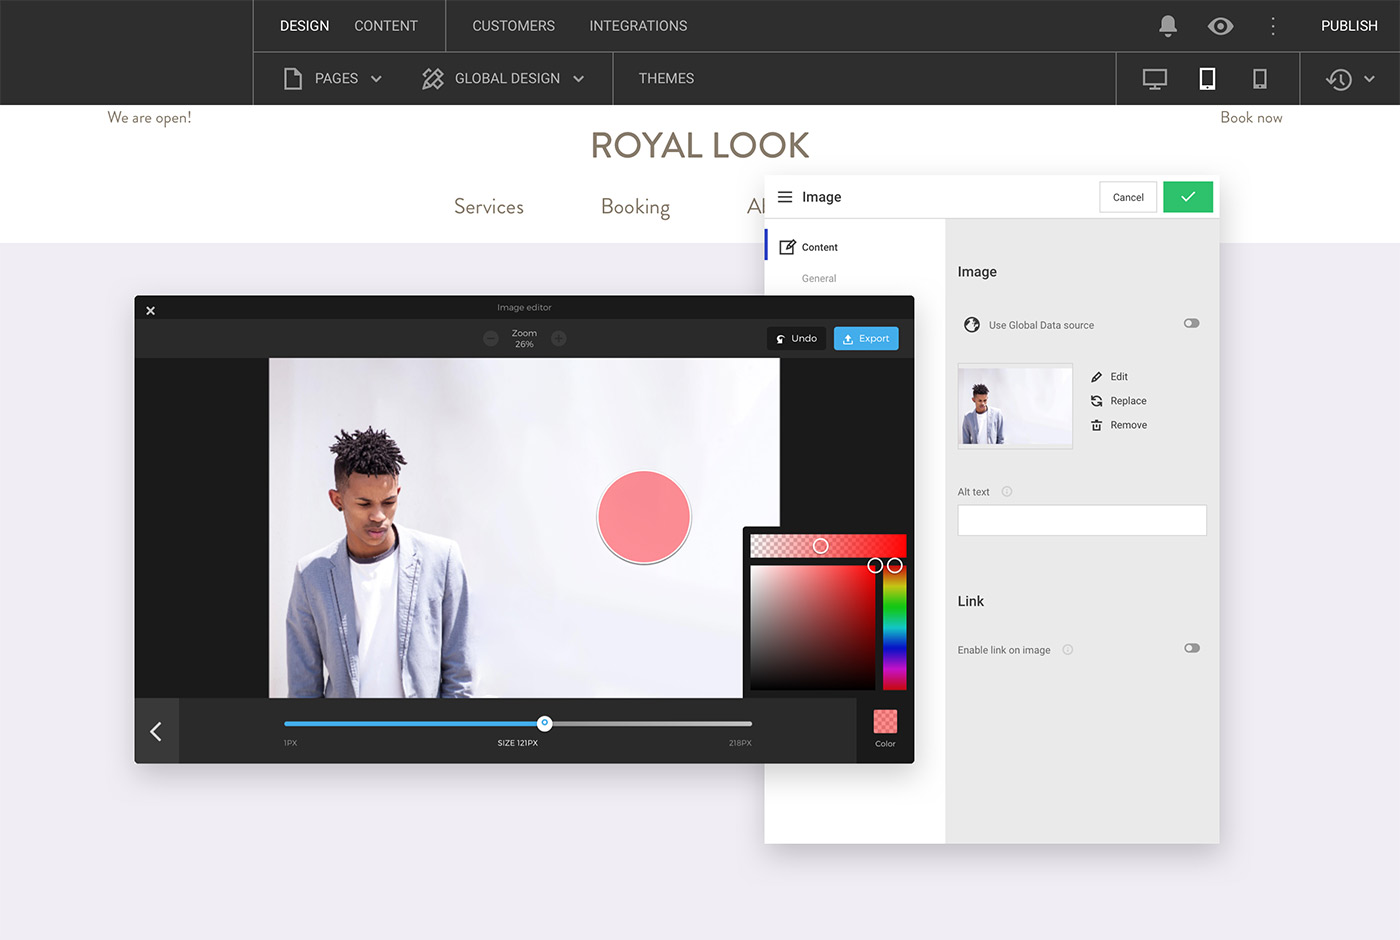
The brush section of the Image Editor is where you draw on top of your image. At the bottom of the brush overlay you'll find the option to change the pixel size and the color of your brush.
Note that you're able to make the brush color transparent at the top of the color palette.
Focus
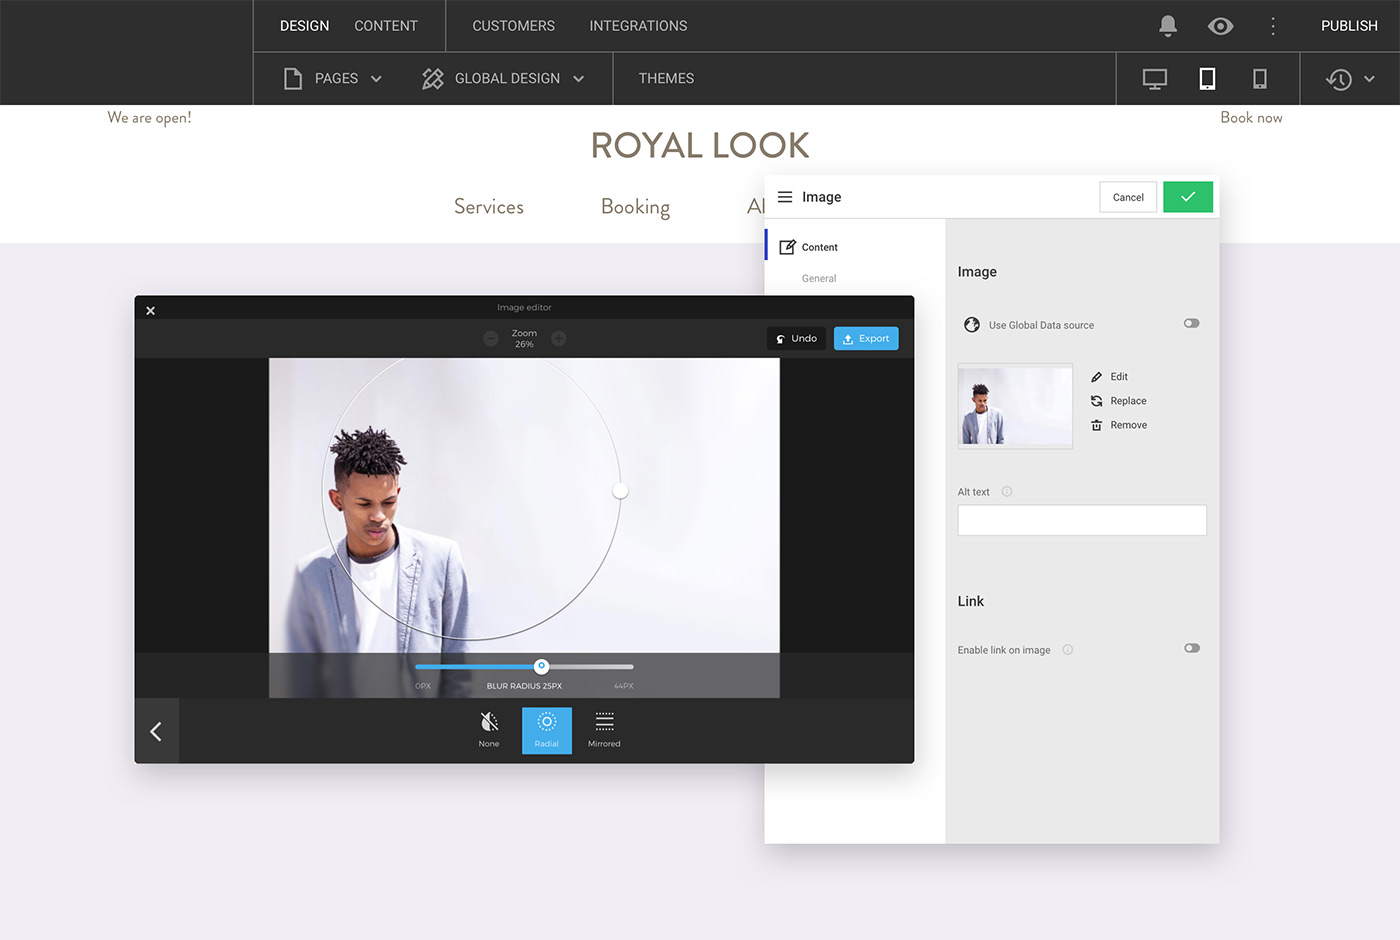
The focus section of the Image Editor is a helpful tool for highlighting a specific area/element of your image. Creating focus on a selected area of the image will blur the rest of the image and help the visitor focus their attention on the part that you deem important.
- Radial: this focus is defined by a circle
- Mirrored: this focus defined by a rectangular area
You can move both the radial and mirrored focus around and expand/narrow them down on your image by using the white circle on the focus area.
Frame
The frame section of the Image Editor is where you add a frame to your entire image. You have five different predefined frames to choose from:
- Dia
- Art Decor
- Black Passepartout
- Low Poly
- Wood Passepartout
You can select the pixel size, 5-131 px, for all the frame types. The Art Decor frame type also gives you the option to change the color of the frame - you'll find a color picker in the bottom right corner of the art decor frame overlay.
