While Mono's New Editor Interface is designed with simplicity and efficiency in mind, it might take a bit of getting used to for users of the V5 Editor. In this article we've compiled a short list of areas where you'll notice the biggest changes and advise you on how to adapt your work processes.
Header, footer and website body are edited in the same place
We've made it a lot easier for you to work on your website as one, whole entity. In V5, you had to edit your website body in the Build section of the Editor and your header and footer in Global Styling. In the New Interface, everything design-related for any visual element on your website is edited in one place: Design. As an added bonus, you can now move modules from the website body to the header/footer and vice versa.
Global Styling is now Global Design
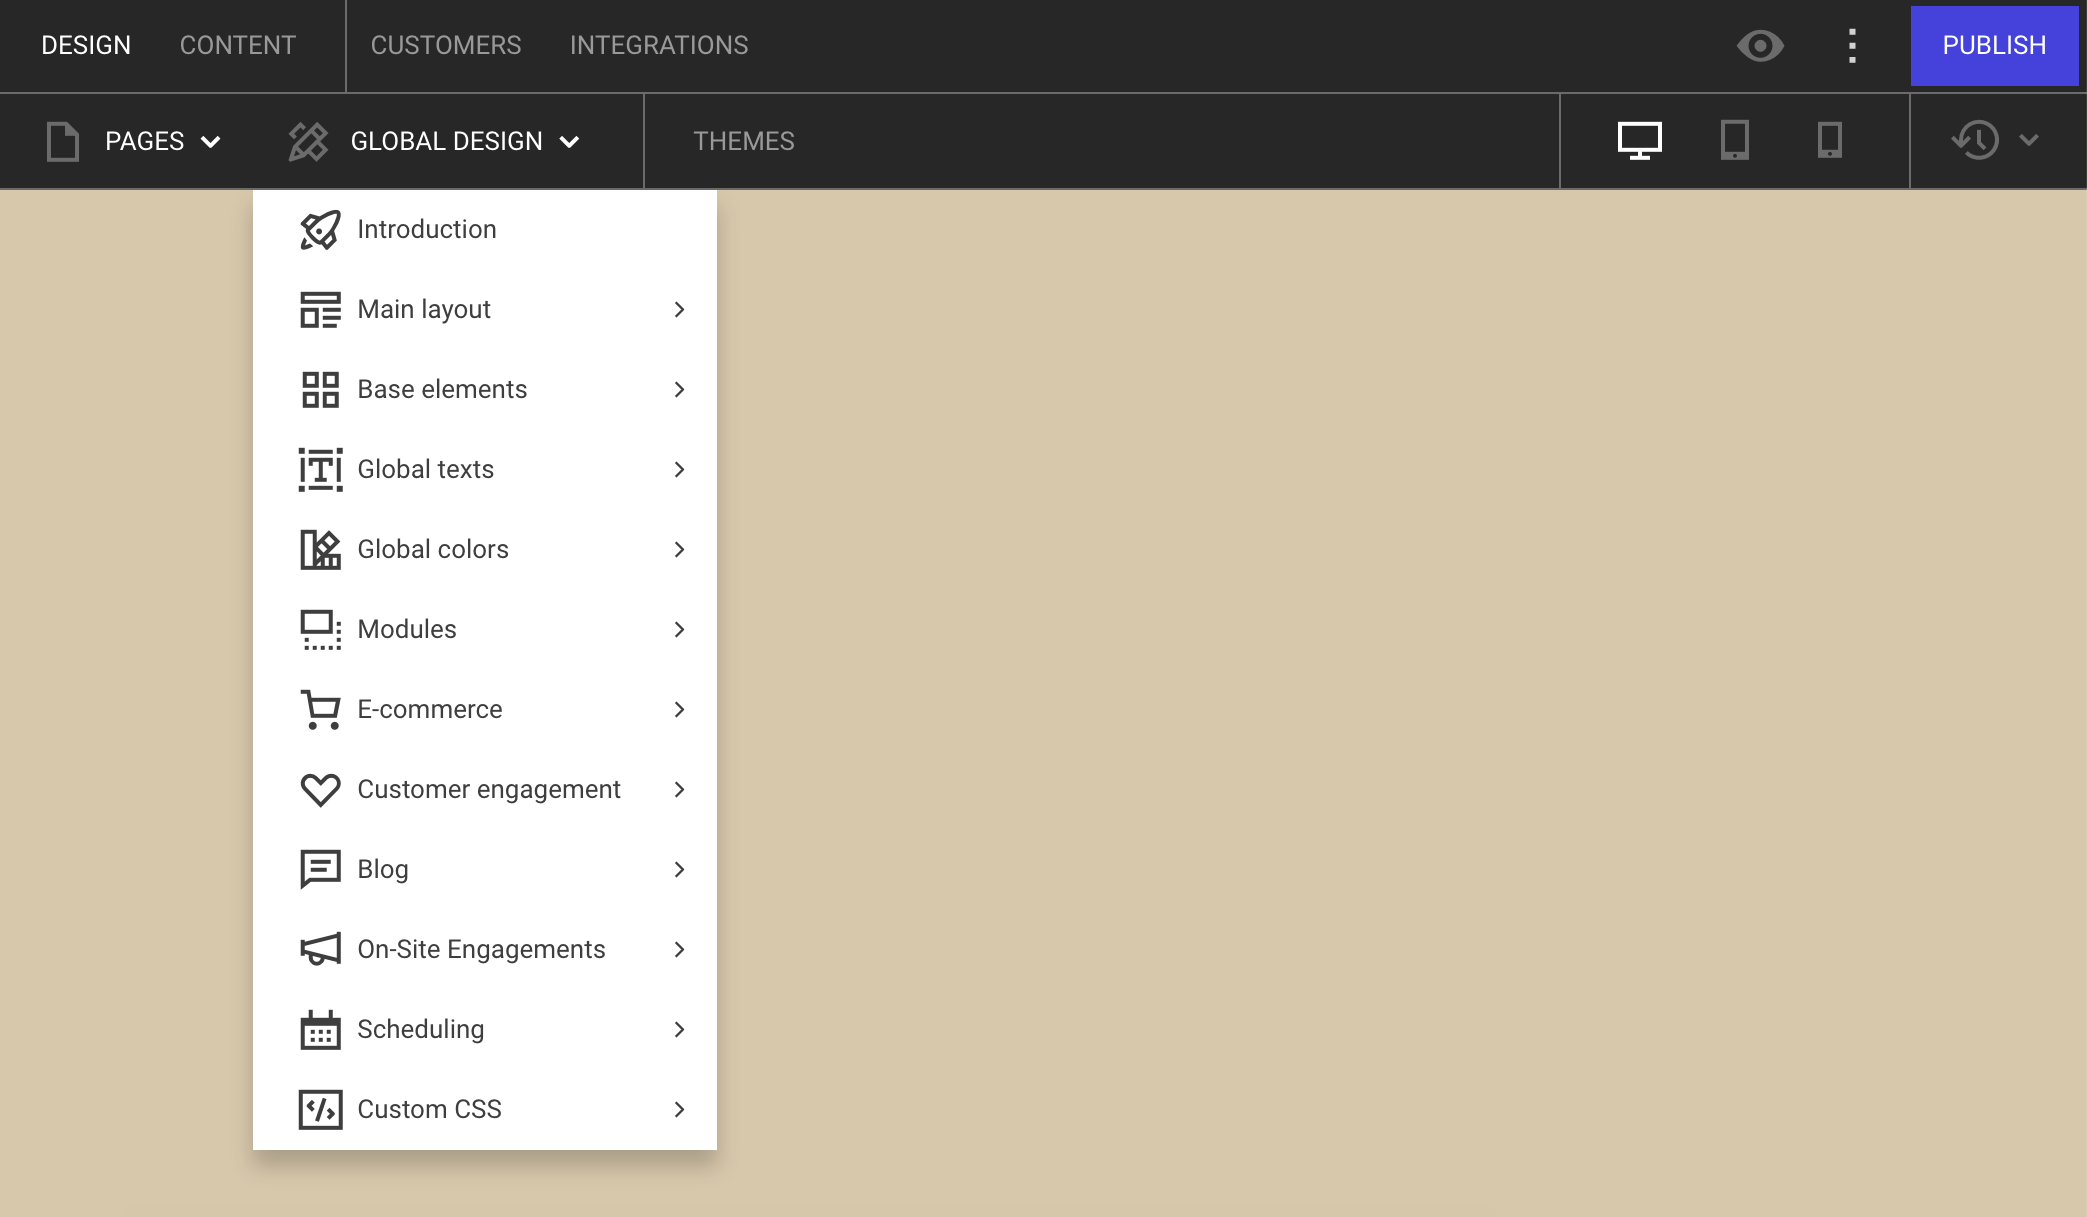
In the New Interface, we've made it much easier to globally design the various elements on your website. Expanding the Global Design dropdown from the top navigation bar, you'll see all the same options as you had in Global Styling in V5, although in a slightly different order. Using the dropdown submenus, you are able to quickly navigate to specific design settings without having to click multiple times.
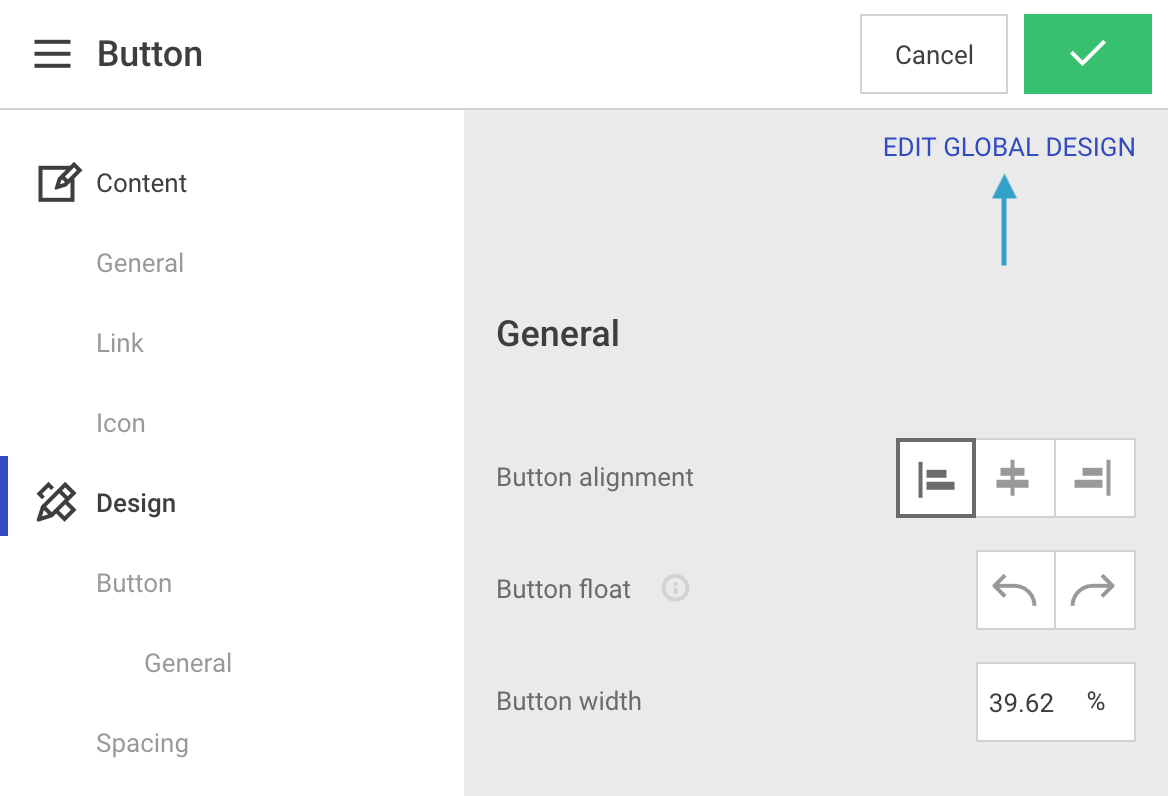
A brand new feature in the New Interface is the option of jumping directly from a local module to the Global Design settings for that particular module type. For example, if you have opened a Button module on one of your pages and click Design, you'll see an option to Edit Global Design. Clicking that will take you to the Global Design settings for all Button modules, helping you maintain a consistent design across your website.
Read more about Global Design here.
From drag-and-drop to hover-and-click
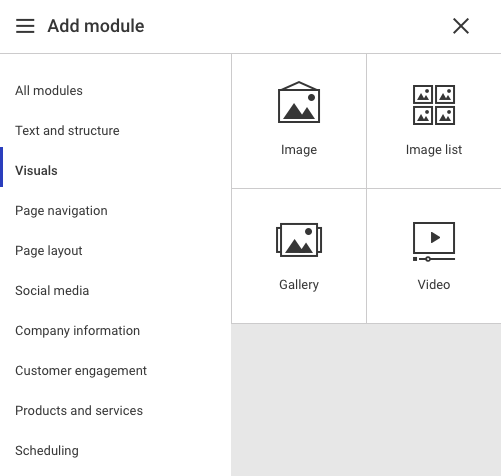
In V5, modules were added by dragging them from a top bar and dropping them at the relevant places on your website. To help you perform such routine actions much faster, we've moved away from the drag-and-drop approach and introduced a hover-and-click model instead. Once you've decided where you want to add a module, hover on the existing module above it (or an empty column) and click the "+" symbol. You're then presented with a structured list of available modules that helps you quickly locate the one you're looking for.
V5:

New Interface:
Add pre-filled rows in one click
The New Interface is all about boosting efficiency and the Add Row option is a major part of that. Hover at the bottom of any existing row on your website and click the "+". You're now able to select a row from a comprehensive library of pre-filled rows, which have all been optimized for the various viewports. A pre-filled row is basically a combination of modules that have been assembled in advance. This makes it easy to quickly build up page layouts, which may be particularly useful when creating mock-ups to show to clients.
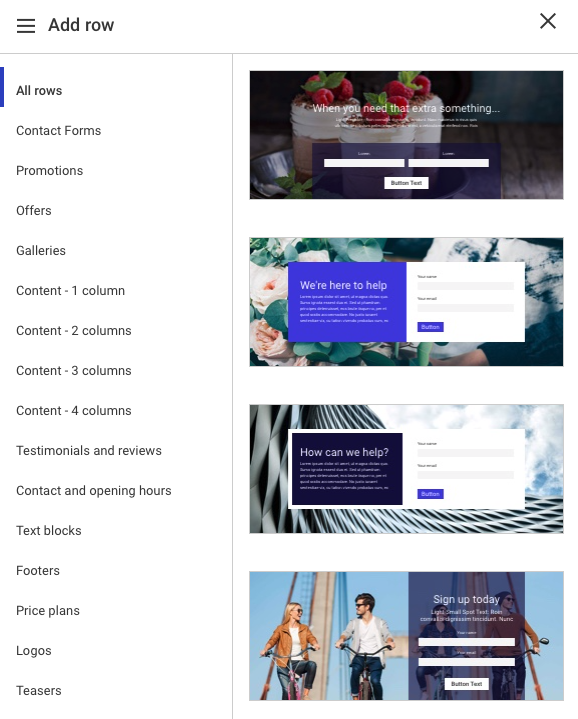
Read more about adding rows here. This functionality was not available in V5.
Easier in-overlay navigation
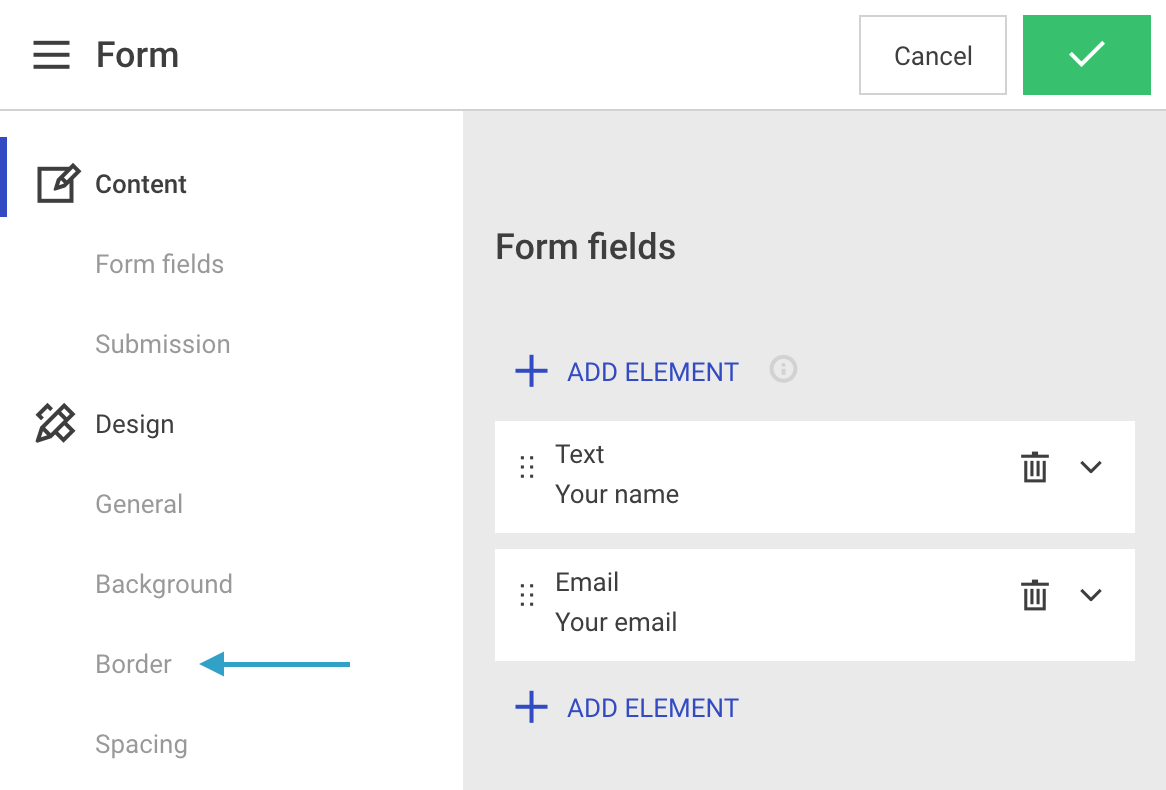
Clicking on any editable element in the Editor will open up an overlay with design options and settings. This is true in both V5 and the New Interface. We've changed the way you navigate around in these overlays, moving away from a tabbed layout in V5 to an anchor-based menu in the New Interface that you can show and hide by clicking the burger menu icon.
The anchor makes it much faster for you to get to the specific parameter you want to edit, for example the border on a Form module.
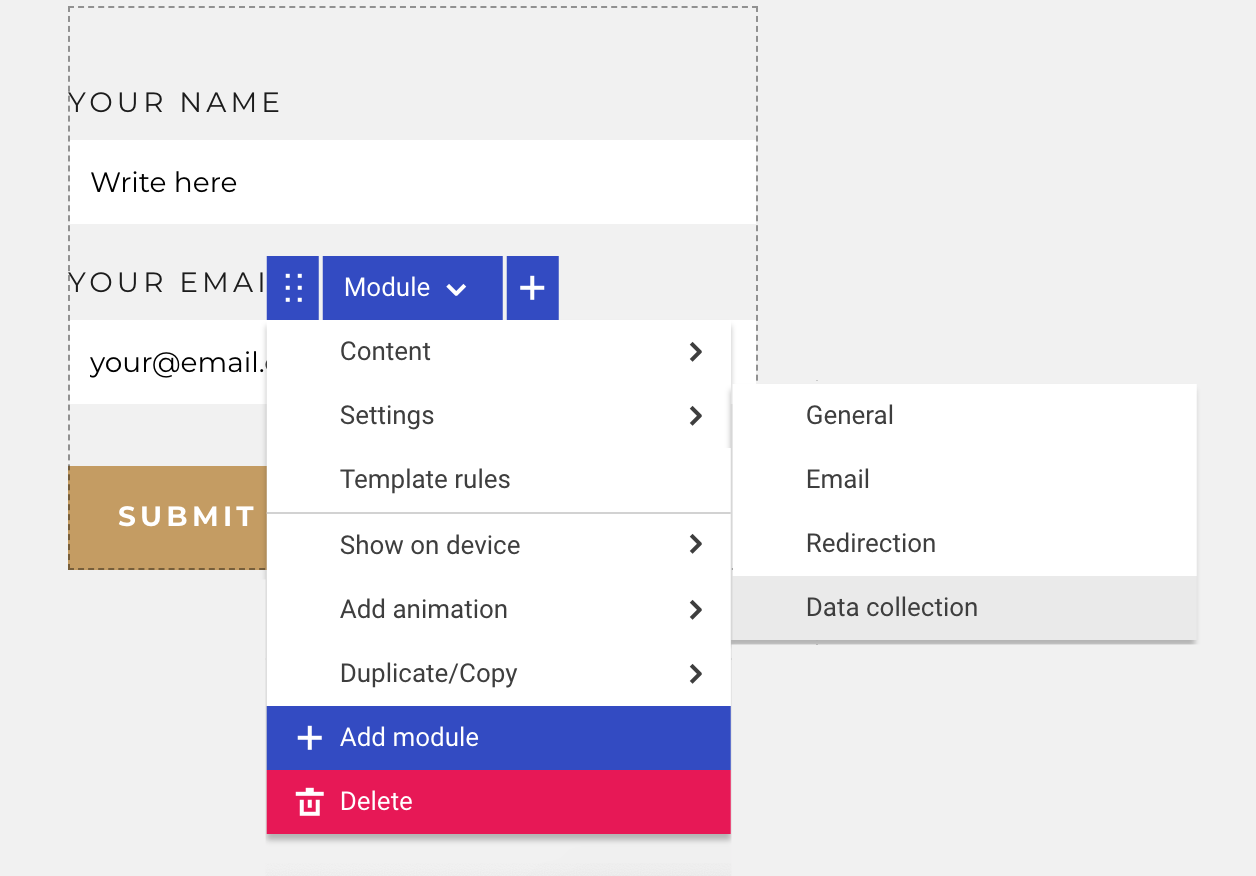
To make these changes even faster, you can also take advantage of the dropdown menu that appears when you hover on any actionable element. It provides convenient shortcuts to the most common parameters on the element.
"Snap" overlays to the right
In V5, you could click a small button at the top-right of most overlays that would push it to the far right side of the screen and enable you to see your website in full while editing elements.
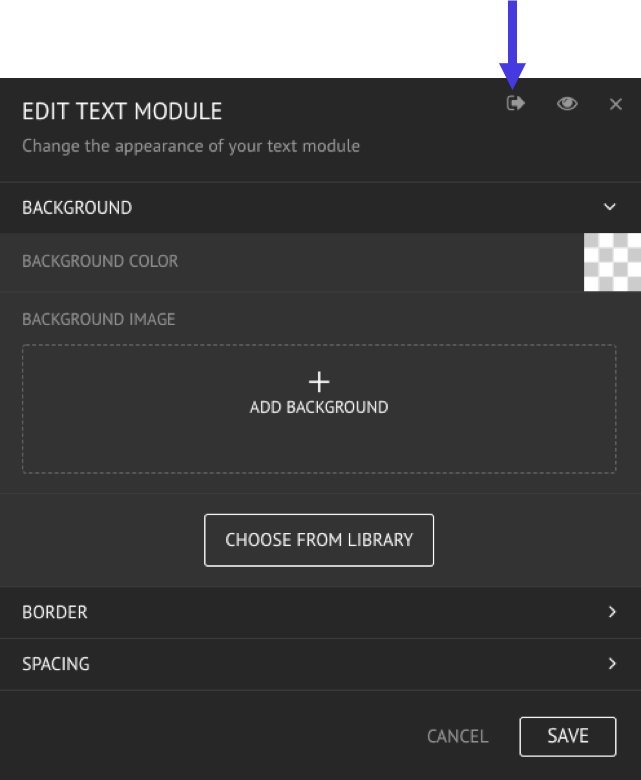
We have removed this button from the New Interface but you can still "snap" overlays to the right by dragging and dropping them to right side of your screen.
The page tree has moved to a new place
In V5, your page tree was visible on the left side whenever you were editing your website. In the New Interface, we've moved it up into the main navigation bar to provide you with an unhindered, full-screen editing experience. You can manage your pages and page languages from the Pages section in the top navigation bar.
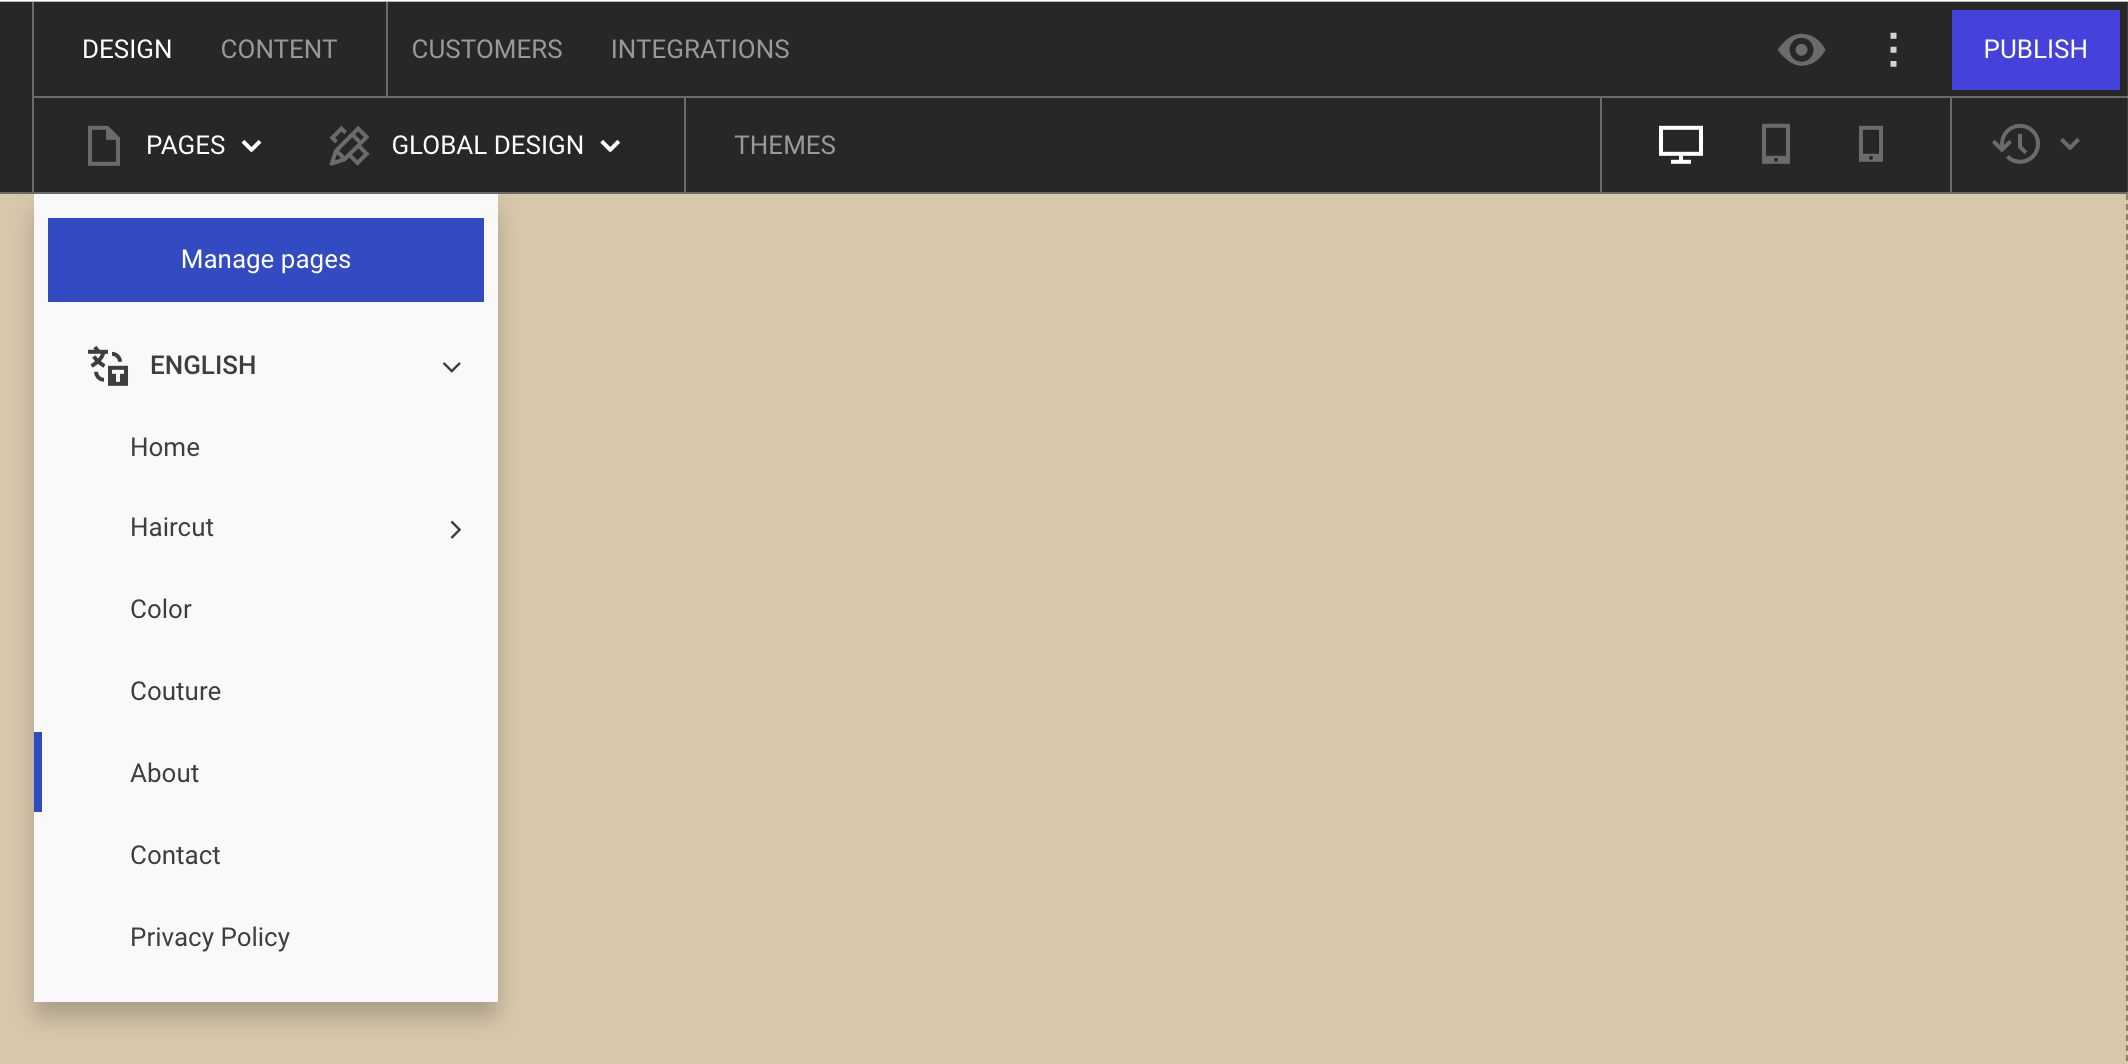
Read more about page and language management here.
CRM is now Customers
In V5, the CRM add-on was where you managed all customer data, customer groups, and sent out email campaigns. In the new Interface, we've created the Customers tab which is accessible for all logged-in users (no subscription required). Customers is a simple customer management feature where you can add customers, segment them into groups, and manage all data submitted by visitors through forms and the Editor's other add-ons.
The Email Marketing add-on is available to all of our partners as well (paid subscription). Email Marketing is a dedicated feature for sending out simple email campaigns to the customer groups you've defined in Customers.