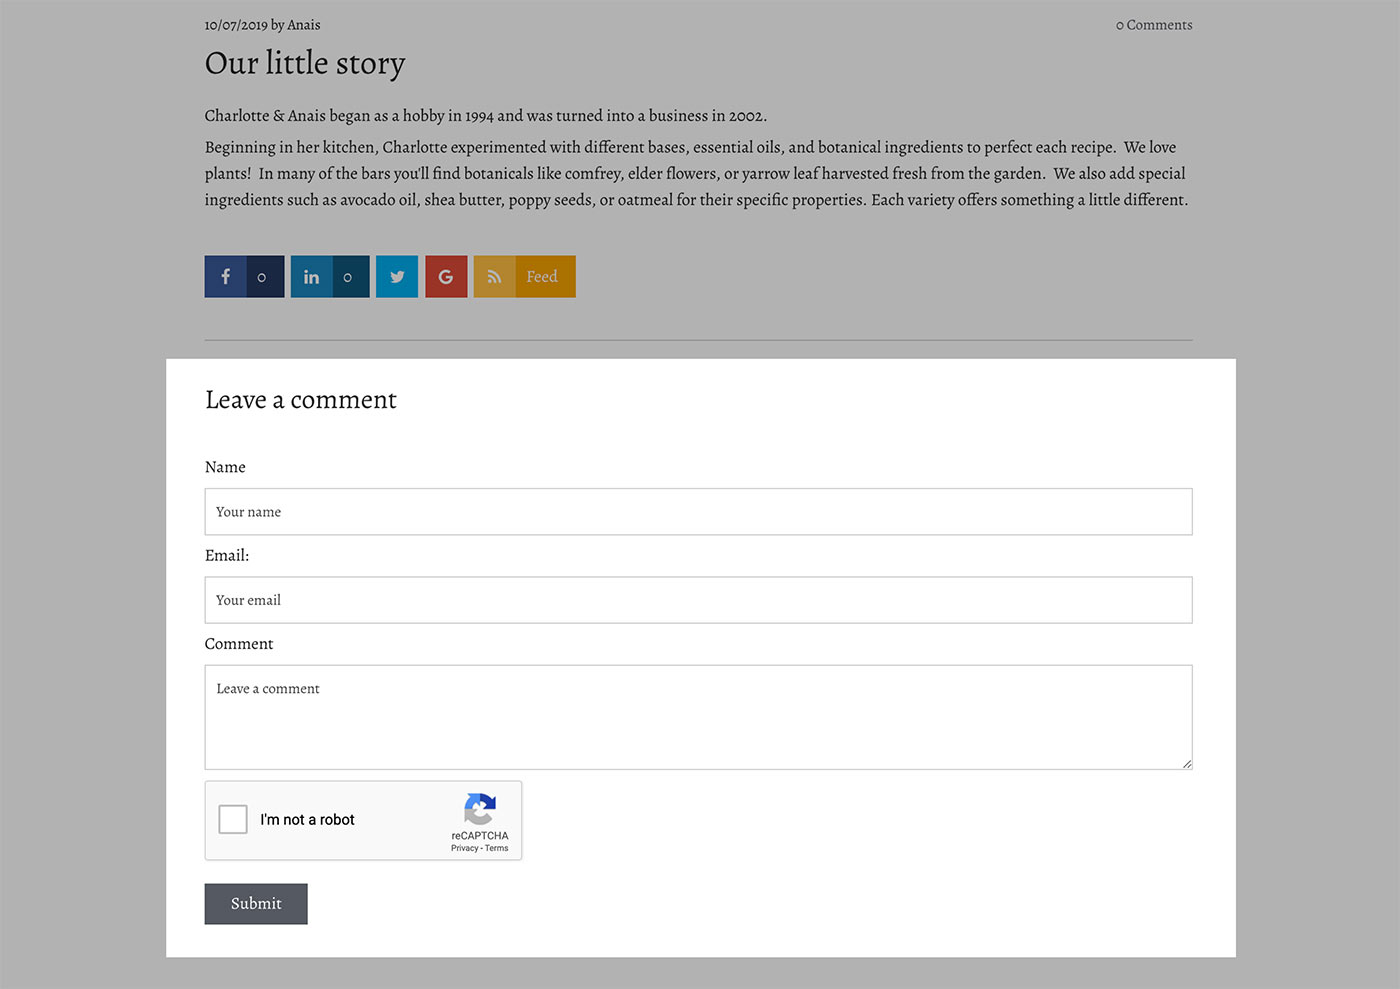
Once you've integrated your blog posts on your website, it's a good time to decide whether you want visitors to be able to comment on your content or not. If you open up for comments, a dedicated comments section will appear immediately below your written content on all your blog posts.

Comments settings
To enable comments on your blog, navigate to Blog -> Settings -> Comments and make sure the box Allow comments in posts is ticked. Leaving the box unticked means that visitors cannot comment on any of your blog posts.
How do I remove all comments?
If someone has commented on your blog and you subsequently tick Allow comments in posts, their comments will still show on your blog posts but new comments cannot be added anymore. To completely hide the entire comments section, including any existing comments, navigate to Settings -> Post settings and tick the box Hide comments section.
By default, new comments made by visitors need to be approved by you before they are publicly displayed on the blog post. However, if you tick the box Auto approve new comments, all comments will appear immediately on your website after they have been submitted by visitors.
Notification email
You can select to receive an email notification when someone leaves a comment on any of your blog posts. Tick the box Send email notification when a new comment is submitted and write your email address in the Notification section. You can add multiple email addresses by comma-separating them.
Thank you message
After a visitor has filled in a comment and clicks the Submit button, the message "Your comment has been submitted" will automatically be displayed. You can replace that with a text of your choice by typing it in to the field Thank you message.
Consent options
When a visitor submits a comment on your website, they are also submitting personally identifiable data (name, email) that you are going to store and mange in the Editor. If you have a data privacy policy for your business, you can display a tick box directly in the comments section on all your blog posts, requiring the visitor to have read the text and provided their consent before being able to submit the comment.
You can link to an external URL where your privacy policy is hosted, an internal page containing your privacy policy, or display it directly on an overlay.
Using Global Data in the overlay
It's possible to add Global Data tags in the overlay title and description, enabling you to display a privacy text that you have previously added in Global Data.
Managing submitted comments
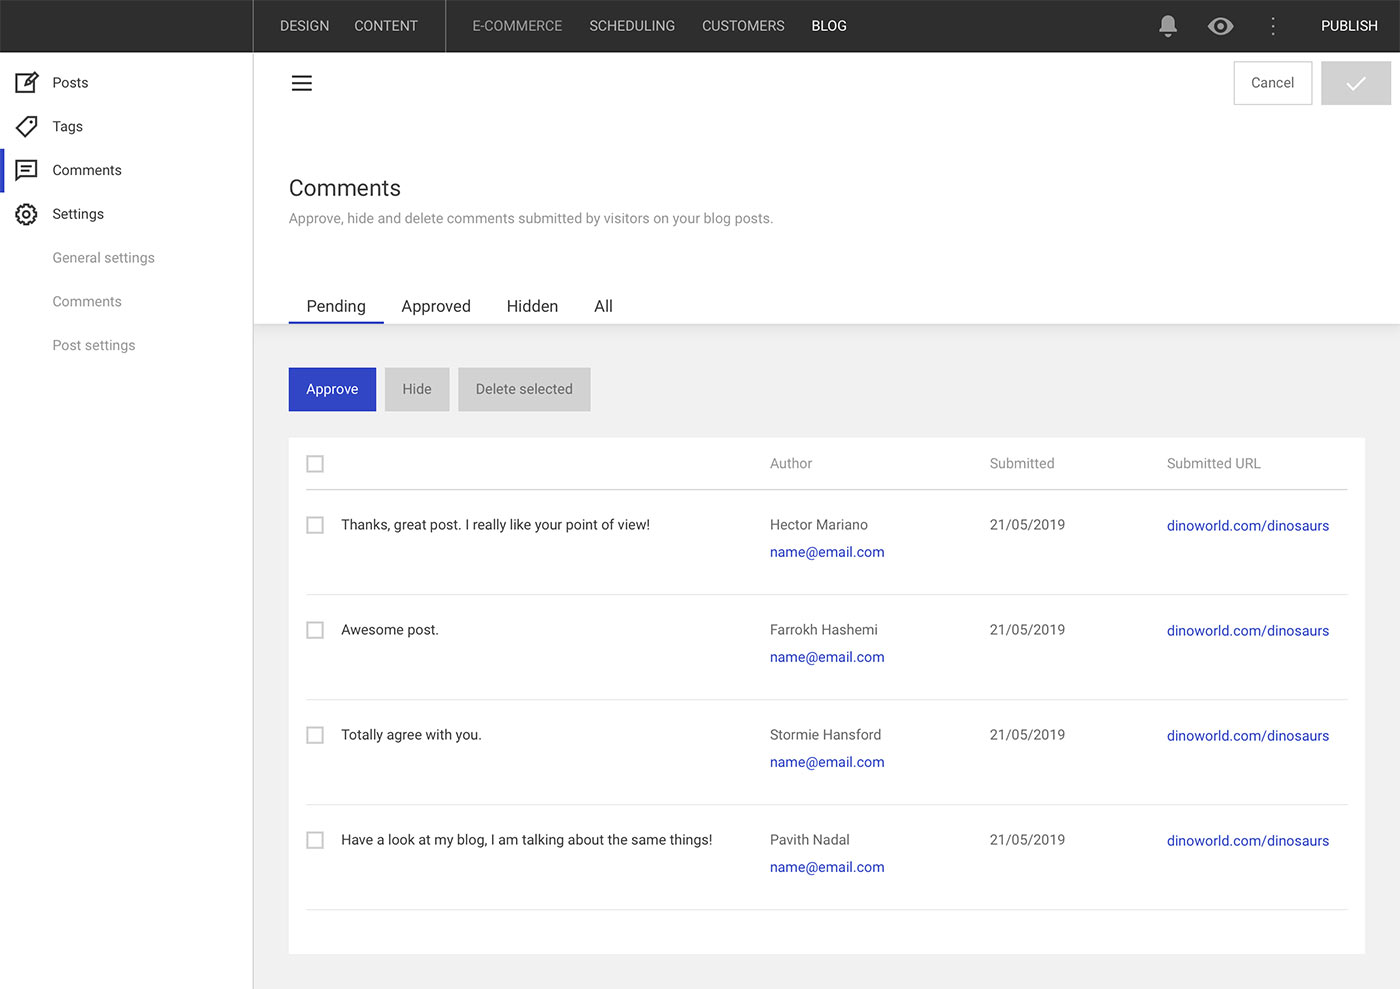
Once a comment has been submitted on your blog, it will appear within the Editor under Blog -> Comments. New comments will be waiting in the Pending state unless you have enabled automatic approval of new comments, in which case they will be moved straight to the Approved state.

Comments in the Pending state can either be approved, hidden or deleted. Tick one or multiple comments on the list and click either the Approve, Hide or Delete selected button.
Approved comments are "live" and shown on your website. In the Approved tab, you can delete comments or hide them.
If you hide a comment, it will not show on your website. Hiding a comment instead of deleting it makes it possible to move it to Approved later on and have it showing on your website.
In the Hidden tab, you can approve or delete comments.
Finally, the All tab lists all of the blog post comments, regardless of their state.