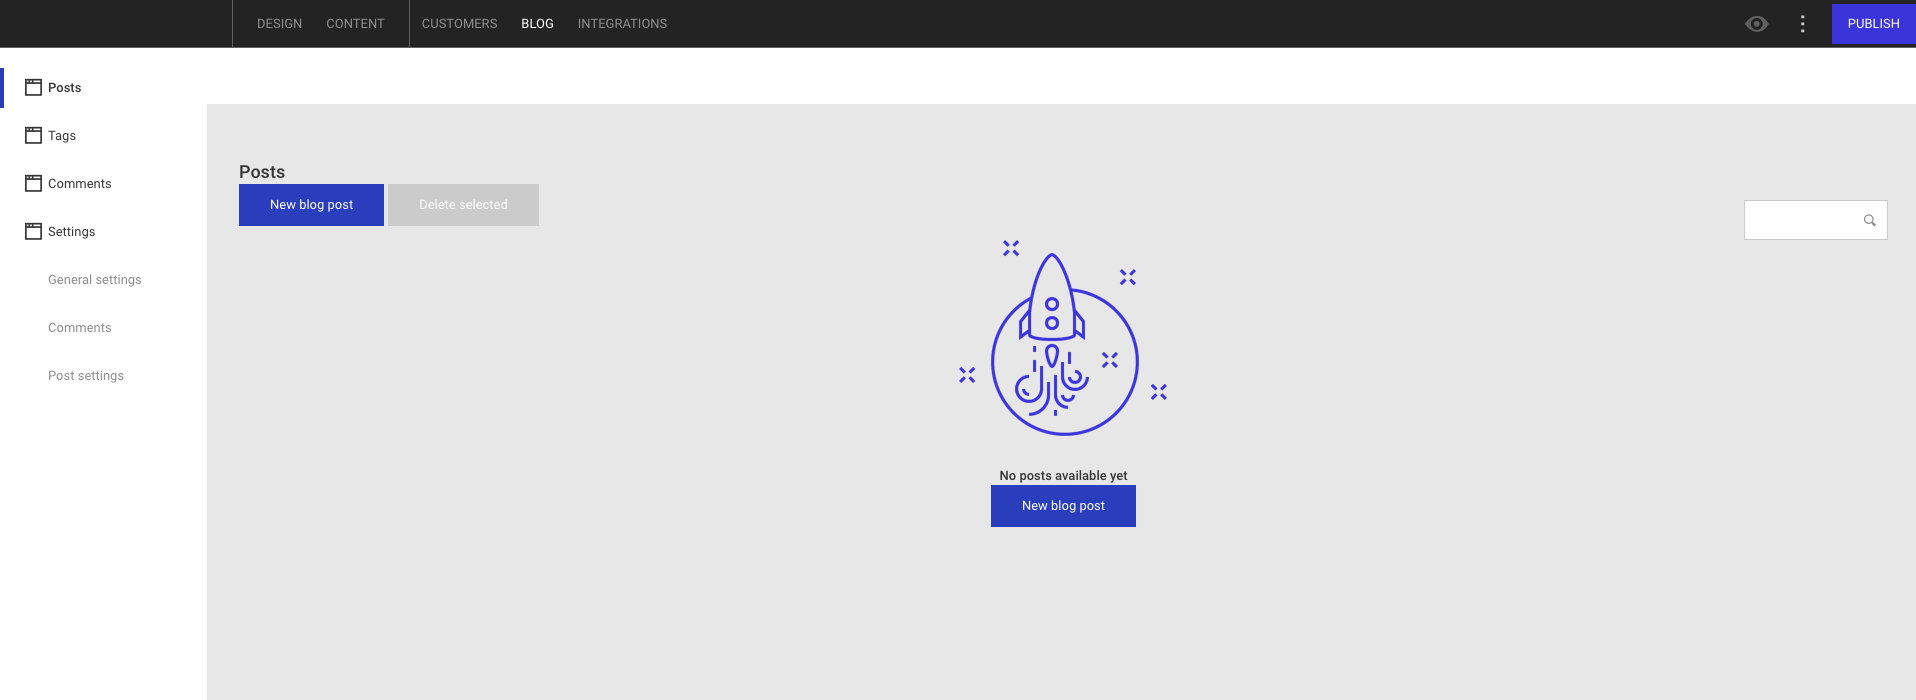
To create a blog post, select Blog in the Editor's top navigation bar and click the New blog post button.

Fill in basic blog post content
In the tab Basic you can add the following content on a blog post:
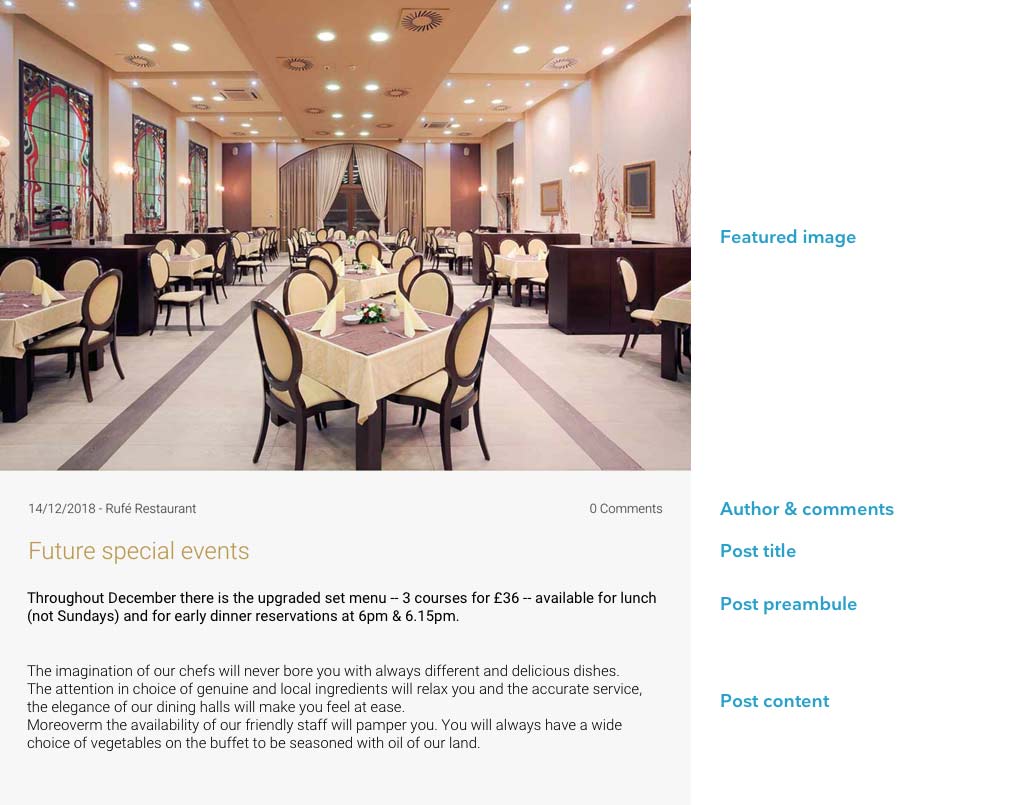
- Author
- Post title
- Post preamble (read more about working with the Text Editor here)
- Post content (body text)
- Tags (need to be created first, read more here)
- Featured image (can be edited using the built-in Image Editor)
Size of featured images
To ensure that blog post previews are displayed with same-size images, you'll need to upload images with identical dimensions for each of your blog posts, otherwise some images may appear larger than others on the website. Make sure that all your images have the same height and width on upload.
If you have added multiple languages on your website, you can add language-specific content on each of your blog posts. The Blog catalog module will automatically display the posts in the language of the pages where it is included - e.g. on a Spanish page, the posts will automatically be displayed in Spanish.
Blog post layout

Add a gallery, files for download, and embedded content
In the tab Attachments you can add additional content to your blog post. Under Gallery, you can add multiple images to your blog post. They will appear below the post content text.
If you wish to add downloadable content, you can upload a file in the Download section. Visitors are able to download this file by clicking on a button that is automatically generated and placed towards the bottom of the blog post.
Republish required
In order to make newly attached files available for download for visitors, you must republish your website
You can specify the text you want to appear on this button in the field Button label. The button inherits the Global Design settings of your Button module, but you can also separately style it to suit your needs. Read more about styling blog post content here.
Under Video/HTML Embed, you can paste a HTML code snippet if you wish to include any external media in your blog post, for example a Youtube-hosted video.
Add SEO content
In the third tab, SEO, you can add the following information in order to customize how your blog post appears in search results:
- Title: if left blank, the Editor will add the post title from the Basic tab after you've saved the post.
- Description: if left blank, the Editor will add the post content from the Basic tab after you've saved the post. Try to limit the description to 160 characters as search engines may truncate descriptions any longer than that.
- Keywords: add descriptive keywords about your blog post to help visitors find it through search engines. You can add multiple keywords by comma-separating them.
- Permalink: the permalink is the full URL of the blog post. For example, if your website is petersbakery.com and your blog post permalink is bake-tasty-cakes, the URL of the post will be petersbakery.com/b/bake-tasty-cakes. The Editor automatically creates an SEO-friendly permalink using the blog post title, but you can also create your own. If doing so, try to keep it as short as possible and remember to add a hyphen (-) between words in the URL. Click the Generate link button to reset the permalink and default back to using the post title.
- 301 redirects: enter the URLs of inactive pages (e.g. from a previous website) that you would like to redirect to this blog post. Input one URL per line.
Auto-generated content
The Editor will automatically add a range of buttons at the bottom of your blog posts in order to make it easy for visitors to share them on social media. These include a Facebook button, a LinkedIn button, and a Twitter button. If you want to hide these buttons on all your blog posts, navigate to Settings -> Post settings and tick the box Hide share icons.
Additionally, an RSS feed download button is added to the post, enabling visitors to add your blog to their own feed. You can customize this feed in Settings -> General settings. To hide the RSS feed button on your blog posts, navigate to Settings -> Post settings and tick the box Hide RSS icon.